Drone photography opens up entirely new perspectives, allowing photographers to capture images from angles that were previously impossible or extremely expensive to achieve. From sweeping landscapes to architectural overviews, aerial photography reveals patterns and relationships that are invisible from ground level. This guide covers essential techniques for successful drone photography and creating stunning aerial images.
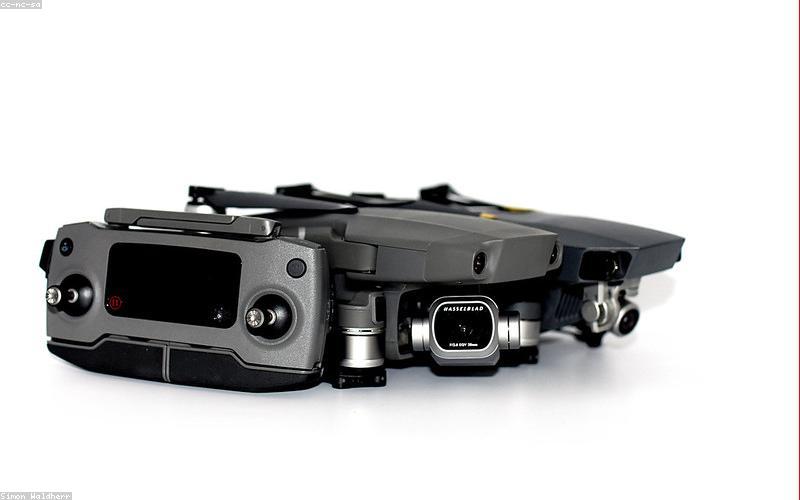
Choosing the right drone is the first step in aerial photography. Consumer drones with built-in cameras offer convenience and ease of use, while professional systems allow for interchangeable cameras and higher image quality. Consider factors like flight time, range, camera specifications, and portability when selecting your drone. Most importantly, ensure you understand and comply with local aviation regulations before flying.
Flight planning is crucial for successful drone photography. Study your location beforehand using maps and satellite imagery to identify interesting compositions and potential obstacles. Check weather conditions—wind, rain, and extreme temperatures can all affect flight safety and image quality. Plan your flight path to capture multiple angles of your subject while maintaining safe distances from people, buildings, and restricted airspace.
"Drone photography offers perspectives that ground-based photography simply cannot achieve. The challenge is not just flying the drone, but seeing the world from above and translating that vision into compelling photographs."
Essential techniques for drone photographers:
- Plan flights carefully for optimal compositions
- Master manual camera controls for better images
- Follow aviation regulations and safety guidelines
Camera Settings for Drone Photography
Drone cameras typically offer automatic modes, but manual control gives you better results. Use smaller apertures (f/5.6-f/8) to ensure sharpness throughout your images, especially important when photographing landscapes from altitude. Shutter speed should be fast enough to avoid motion blur from drone movement—1/500 second or faster is typically adequate. Keep ISO as low as possible to minimize noise, though this may require adjusting other settings in low-light conditions.
# Drone photography settings calculator
def drone_settings(subject_type, altitude, lighting):
    """
    Calculate optimal settings for drone photography
    """
    if subject_type == 'landscape':
        return {
            'aperture': 'f/5.6 - f/8',
            'shutter_speed': '1/500 - 1/1000',
            'iso': '100 - 200',
            'altitude': '50 - 100 meters',
            'camera_angle': 'Level or slight downward tilt'
        }
    elif subject_type == 'architecture':
        return {
            'aperture': 'f/5.6 - f/8',
            'shutter_speed': '1/500 - 1/1000',
            'iso': '100 - 400',
            'altitude': '30 - 60 meters',
            'camera_angle': '45-degree downward angle'
        }
    else:
        return {
            'aperture': 'f/4 - f/5.6',
            'shutter_speed': '1/250 - 1/500',
            'iso': '100 - 200',
            'altitude': '20 - 50 meters',
            'camera_angle': 'As needed for composition'
        }
Composition from Above
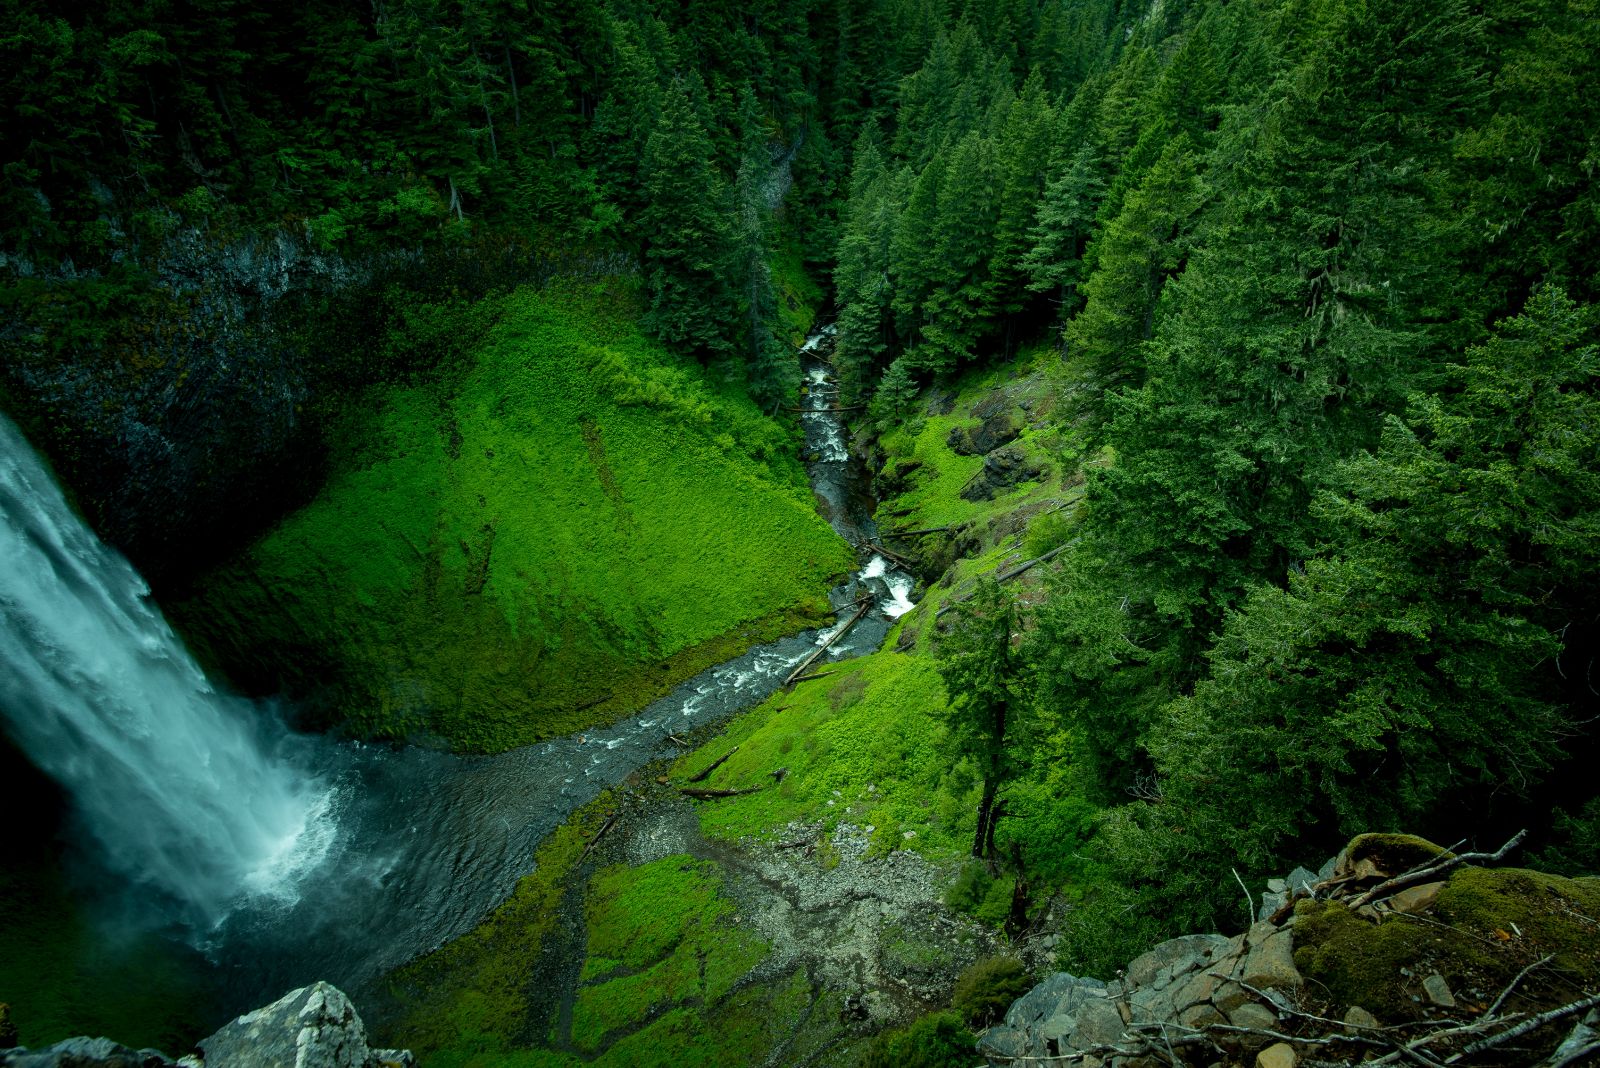
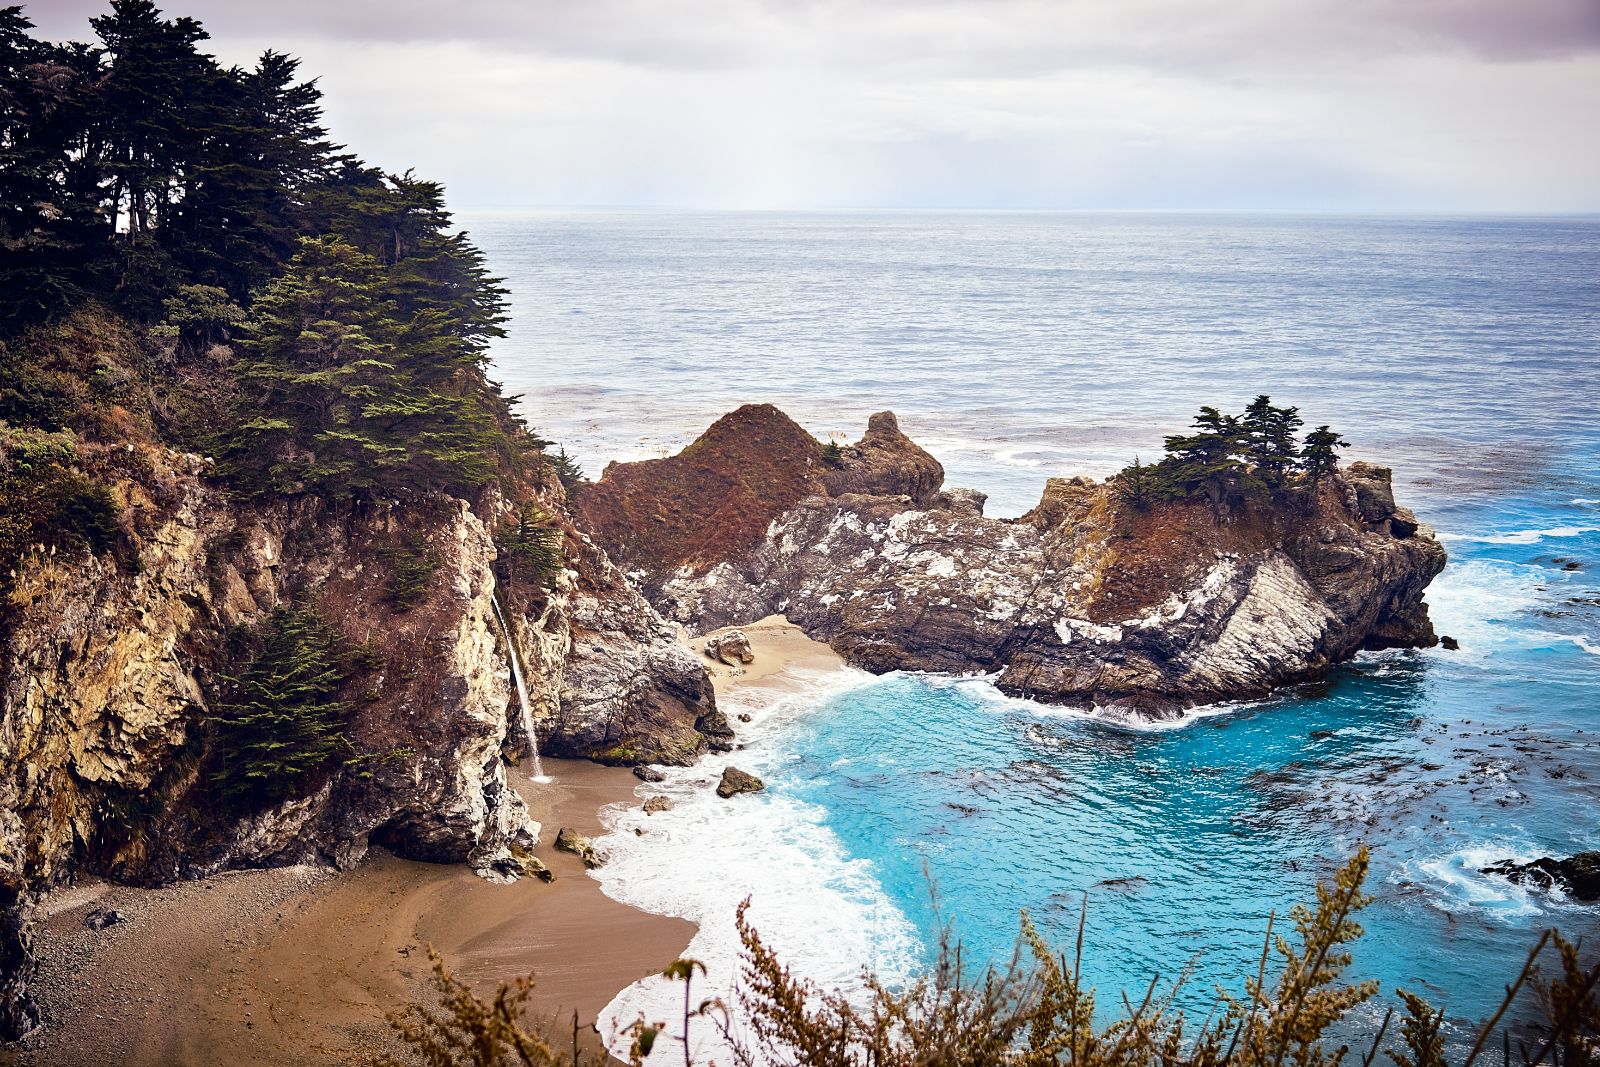
Composition from above requires a different way of seeing the world. Patterns and relationships that are invisible from ground become obvious from the air. Look for geometric shapes, repeating patterns, and interesting contrasts between natural and built environments. The rule of thirds works beautifully in aerial photography, helping you balance elements and create visual interest across your frame.
Altitude dramatically affects how your subjects appear. Higher altitudes reveal patterns and relationships between elements, showing the big picture of landscapes or urban areas. Lower altitudes provide more intimate views and emphasize individual subjects. Experiment with different heights to find the most compelling perspective for each location. Sometimes, the best aerial photographs come from unexpected altitudes that reveal something unique about your subject.
Light is just as important in aerial photography as it is on the ground. The golden hours provide beautiful, warm illumination that enhances landscapes and creates long shadows that add dimension. Early morning often has calmer air conditions, reducing haze and improving image clarity. Midday sun can be harsh but reveals details and patterns that might be obscured at other times. Understanding how light affects your aerial subjects will help you choose the best time to fly.
Safety and regulations are paramount in drone photography. Always check local aviation rules before flying, as requirements vary significantly between countries and regions. Maintain visual line of sight with your drone, avoid flying over crowds or restricted areas, and respect people's privacy. A responsible approach to drone photography ensures this technology remains accessible and doesn't create problems for other users.
Weather conditions significantly affect drone photography. Wind is the primary concern, as strong gusts can make flying difficult or dangerous. Rain and extreme temperatures can damage your drone or reduce flight time. Clear, calm days are ideal for aerial photography, but don't avoid cloudy conditions entirely—diffuse light can be beautiful for certain subjects, and clouds themselves can add dramatic interest to your images.
Post-processing is an important part of aerial photography. Adjusting contrast and clarity can help cut through atmospheric haze that's common at altitude. Careful color correction ensures accurate representation of your subjects. Perspective correction might be necessary if you couldn't achieve perfectly level camera angles during flight. The goal is to enhance the unique perspective you captured while maintaining the authenticity of the aerial view.
Themeix
Themeix is a creative agency crafting beautiful Jekyll themes and modern web solutions for businesses worldwide.